How to set up your Cloudflare account

In this tutorial, you will learn step-by-step instructions on how to create an account with Cloudflare. Register a domain name with Cloudflare Registrar, or add an existing domain name to Cloudflare. Add DNS records with or without Cloudflare Proxy enabled.
Create an account with Cloudflare
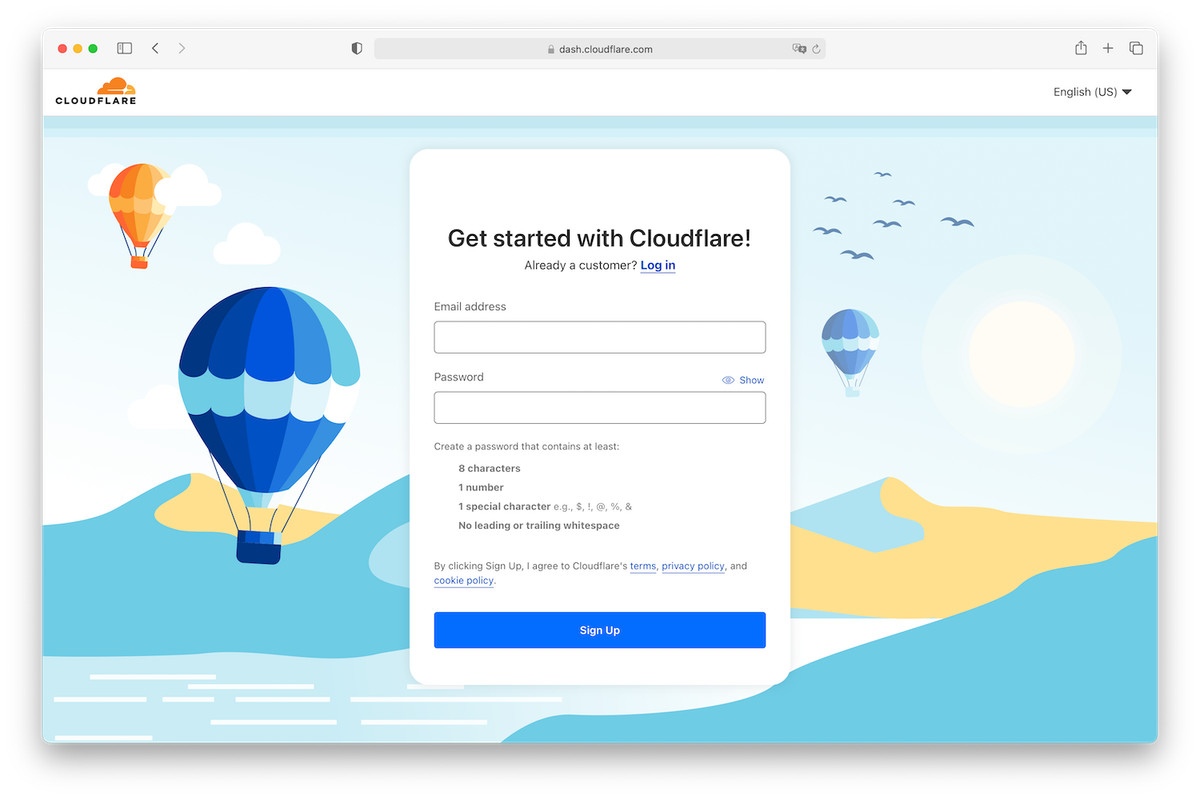
To create an account with Cloudflare, go to www.cloudflare.com, and click on the Sign Up button in the top right corner. Fill out your email and password and click the Sing Up button.
It will redirect you to the dashboard page after you click the Sign Up button. Up next, the page will prompt you to verify your email address. Check out your email inbox, there should be an email from Cloudflare with a link to activate your account.
Register a domain name with Cloudflare
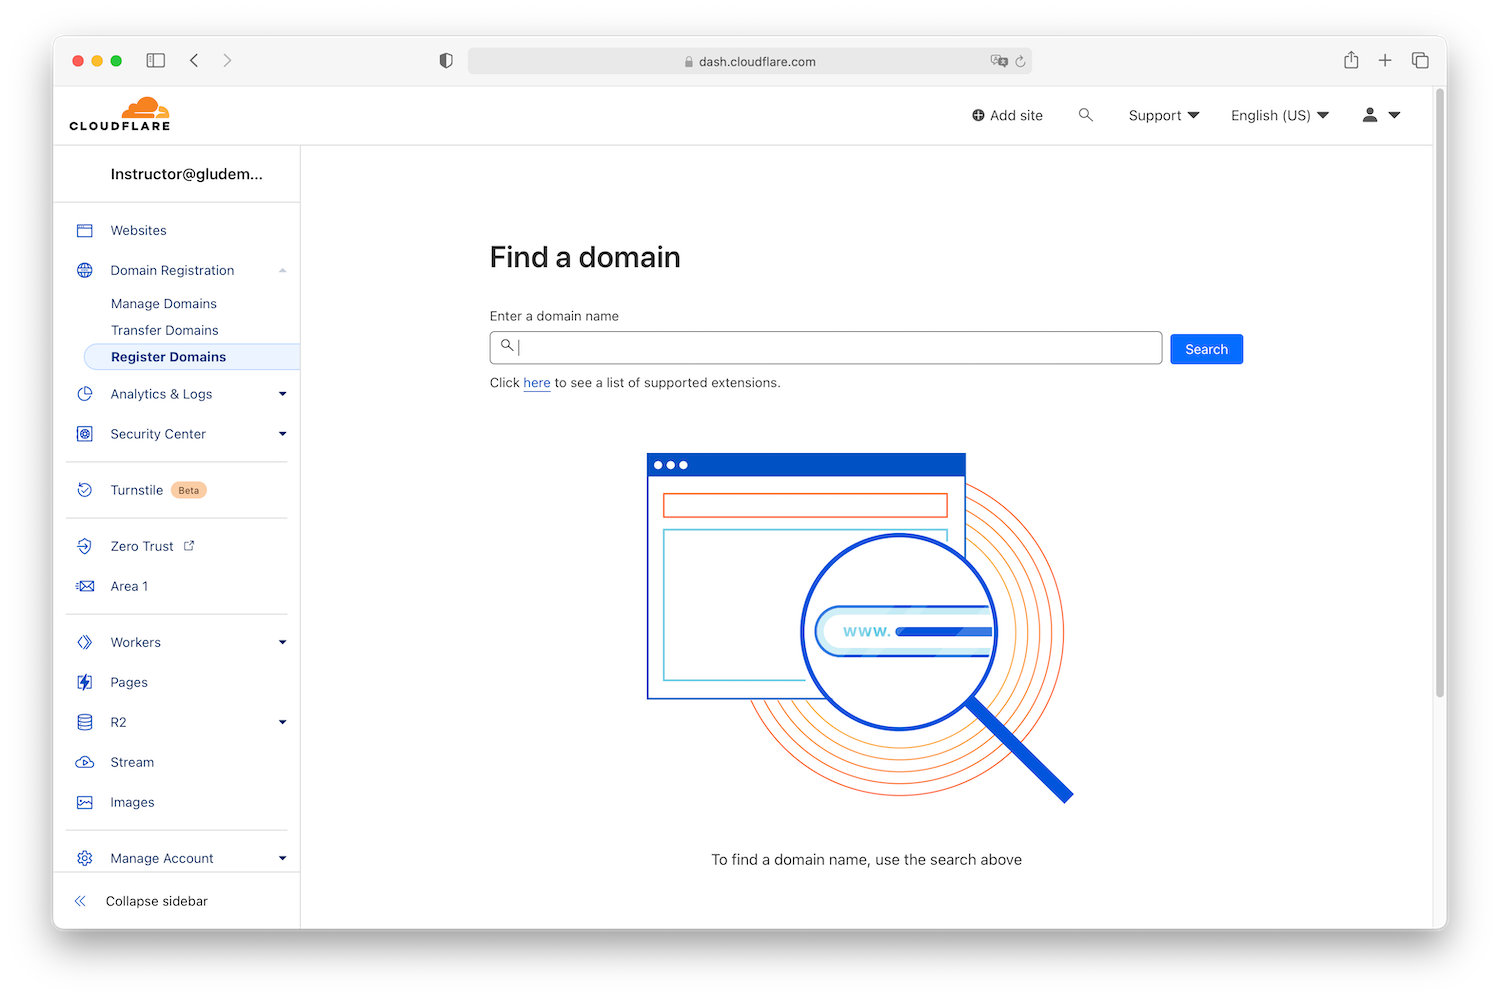
If you don't already have a domain name, you can register one with Cloudflare Registrar.
- Navigate to Domain Registration and click on Register Domains.
- Search for a domain name to check for availability. If your desired domain name is available, click the Purchase button to proceed.
- Choose a registration term from the Payment option drop-down list. The registration term is how long you would like to register your domain name.
- Fill out the Registrant information form. Please be sure to provide accurate information.
- Click on the Complete purchase button to finish up.
Add a domain name to Cloudflare
Suppose you already own a domain name with a registrar other than Cloudflare, like Godaddy, Google Domains, Namecheap, etc. In that case, you can add it to Cloudflare to benefit from Cloudflare's speed, security, and reliability, as well as many free and paid services. To add a domain name to Cloudflare, follow a few steps as below.
- Log in to the Cloudflare dashboard and click Add a Site button.
- Enter your website’s root domain (example.com) and then click Add Site.
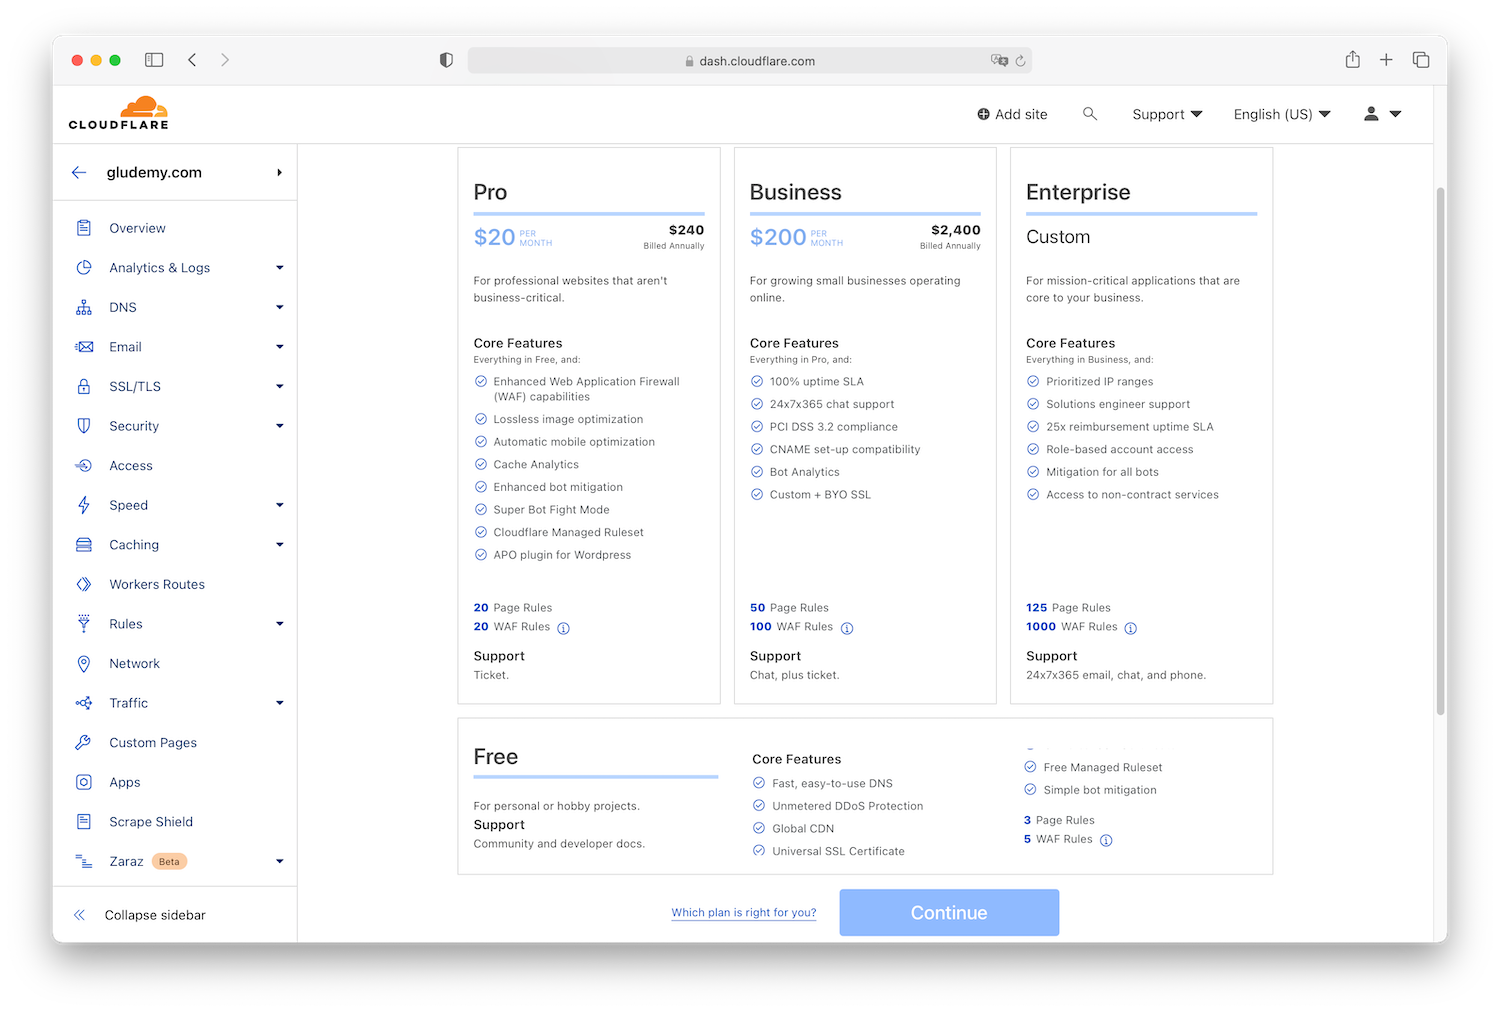
- Select your plan level and click Continue. In case you don't find the free plan, it is at the bottom of the others.
- Cloudflare will scan for your DNS records and pull them up for you if any exist. You may modify the records if any discrepancies. If no DNS records exist, you can add one or leave it blank for now.
- Click Continue. It may pop up an alert if don't set up a DNS record in the last step, just click Confirm and go ahead.
- Copy Cloudflare nameservers. There will be two nameservers records (example.ns.cloudflare.com) shown on the page, copy them to your note. Keep this window open while you perform the next step.
- Add Cloudflare nameservers to your domain registrar. In case you don't remember where you registered your domain name, use ICANN WHOIS.
- Go through the Quick Start Guide. If you don't know what they are, you can just skip it and do it later by clicking Finish later. That's it!
How to update nameservers?
If you don't find your registrar from below the list, use Google or ask ChatGPT for assistance.
Add DNS records on Cloudflare
You already knew how to add a domain name to Cloudflare with the step-by-step guide above, now you might want to add some DNS records to your domain name.
- Go to the Cloudflare dashboard and click on your domain name.
- Click on the DNS navigation.
- Click on the Add record button.
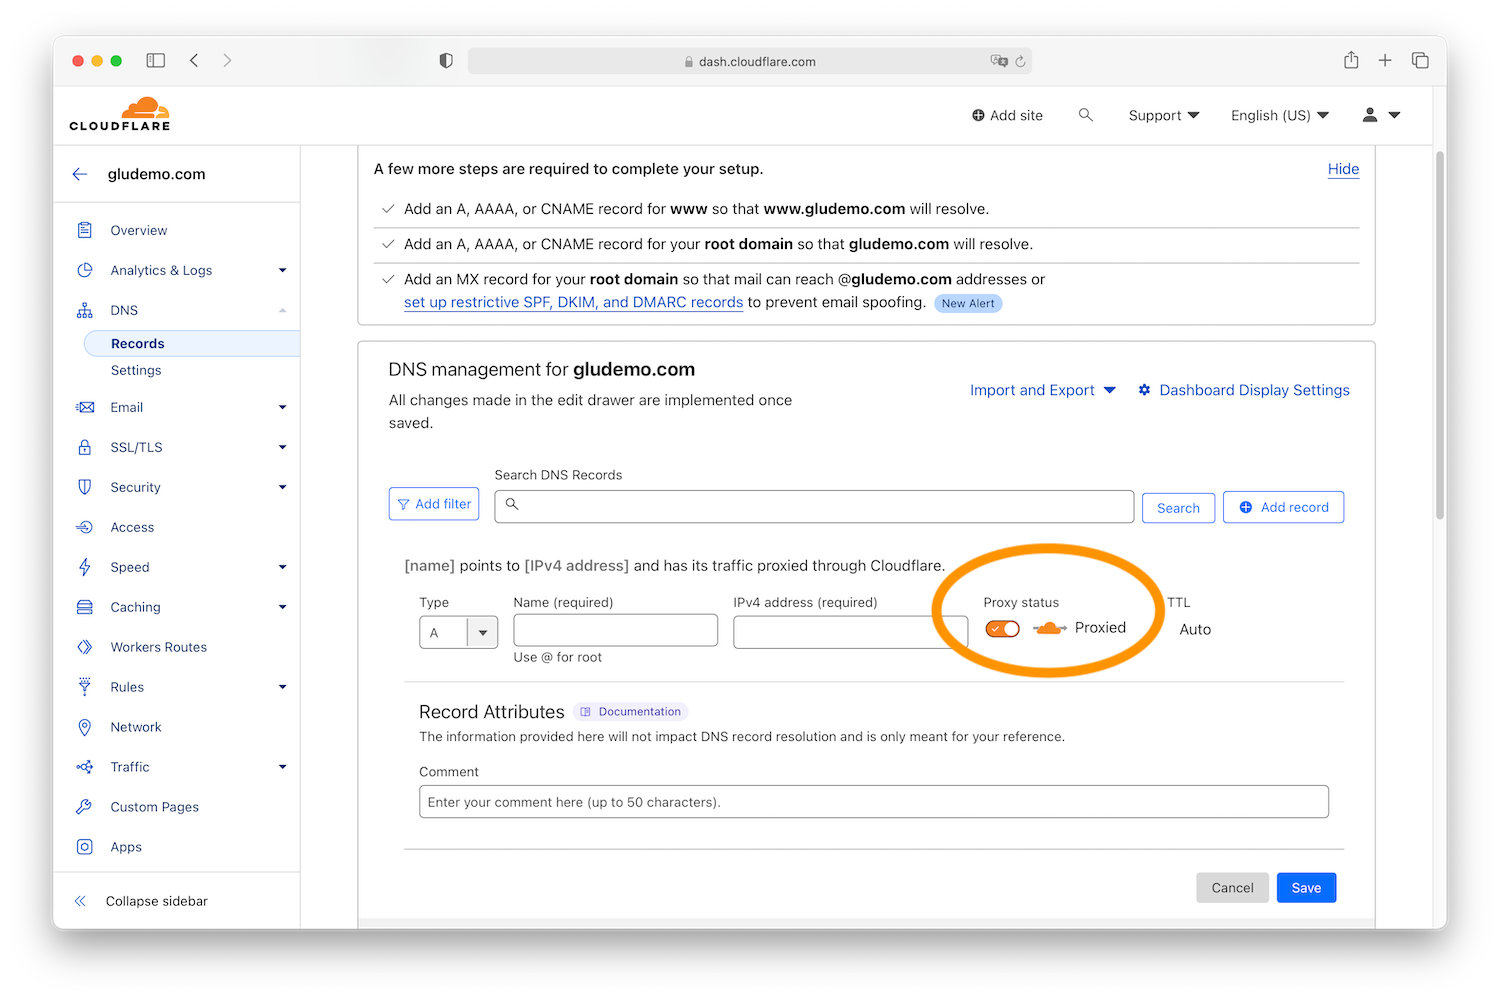
- Choose the record type, and input the record name and value.
- Toggle the Proxy status to enable or disable Cloudflare proxy.
- Click Save to finish adding your record.
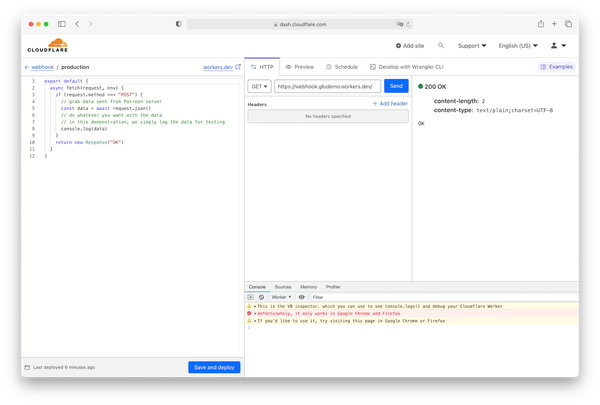
NOTE: Traffic will be routed through Cloudflare network via proxy only if the orange cloud icon is enabled. It's important to note that many Cloudflare services, such as Cloudflare Workers, require the proxy to be enabled in order to trigger the routes.
Wrapping up
In this tutorial, you have learned how to create an account with Cloudflare, register a domain name with Cloudflare registrar, add an existing domain name to Cloudflare, and set up DNS records with Cloudflare. Many Cloudflare services, such as Cloudflare Workers, require the proxy to be enabled in order to trigger the routes.